
Happy Halloween - FREE Bat Tutorial
Halloween is right around the corner! While you won't find a zombie graveyard in my front yard, I do like to do a little something fun for Halloween. Nothing too scary or gross, but a little decoration to make my kids and the other trick-or-treaters smile. Today we are sharing with you a quick stuffed bat that will add just the right amount of spooky fun to your front door or add another festive element to your indoor Halloween party decor.

Here's what you'll need:
(Amounts listed will make 3 bats)
1/3 yard Black print fabric (Tweed in Charcoal)
1/3 yard Black solid fabric
1/3 yard Fusion Quilt Batting (or batting scraps)
1 sheet Black Wool Blend Felt
Stuffing
Fishing Line
FREE Bat Templates found at the bottom of this blog post

Print and cut out the bat template.
For each bat you will need to cut the following items:
(2) Bat Wings from solid black fabric
(2) Bat Wings from the printed black fabric
** Layer the printed fabric wrong sides together and cut so that the wings are opposite each other to make a left wing and a right wing.
(2) Bat Wings from batting
(2) Bat Body from black felt
If you are planning to make all three bats (or more!) I would suggest cutting, prepping and sewing all the pieces at the same time. A bat assembly line will make this a quick project!
Layer one bat wing of batting, printed black, and solid black as shown.

Pin or clip (Mini Wonderclips are my favorite!) around the wing. Repeat for remaining bat wings.

Sew around the wings using a 1/4" seam allowance, leaving the short straight edge open.

Clip the curves.

Turn the wings right side out. Poke out curves and points.
Top stitch the wings as shown using a contrasting thread.


Lay one Bat Body piece out. Position one wing as shown.

Layer second bat body on top and pin or clip in place as shown. Note the section that I have left open.

Sew around the bat body, leaving the section open as pictured below.

Stuff the bat body. Use a chopstick to stuff the ears and feet well.

Insert the second bat wing and pin and clip the body shut. Double check that the edges of the bat body line up well from the front to the back.

Top stitch the opening of the bat body shut.

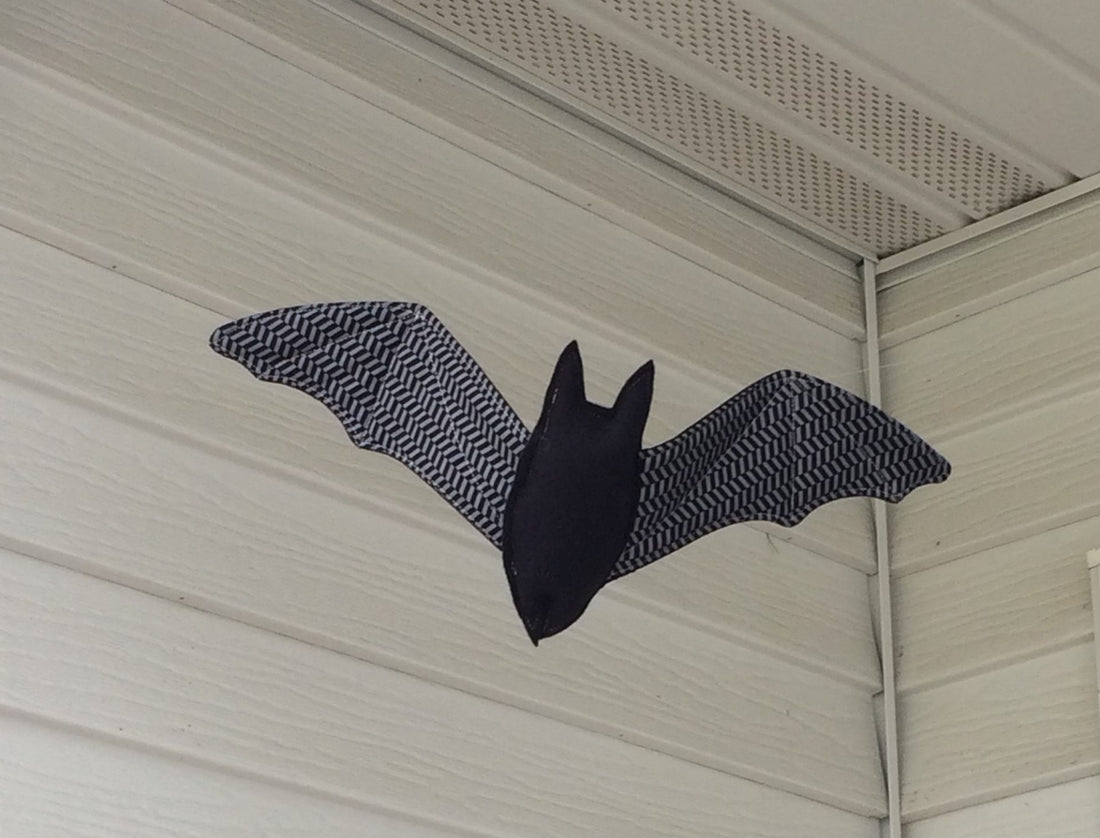
Hang with fishing line. I threaded the fishing line on a needle and threaded the line just through the top points of the bat wings. My fishing line went horizontally across the porch because I was unable to hook the line into the ceiling. Depending on your hanging situation, you may find you need to thread the line through several points on the bat to get them to hang just right. Experiment to find the best method for your situation.

The bats look great during the day....

But they look even better at night!

I love the bat shadows they create!
Hope you have fun making bats! Happy Halloween and happy sewing!