Doggy Doo Bag Tutorial
 Hi guys - Angelique here! I'm sort of new to Modern Textiles - I started working full time at Modern Textiles in May, but I've been teaching here for a couple years and have been a customer since the beginning. If we haven't met yet, I hope we get to soon! I'm in the shop weekdays and a few Saturdays here and there. Hope you'll say hello next time you stop in the shop.

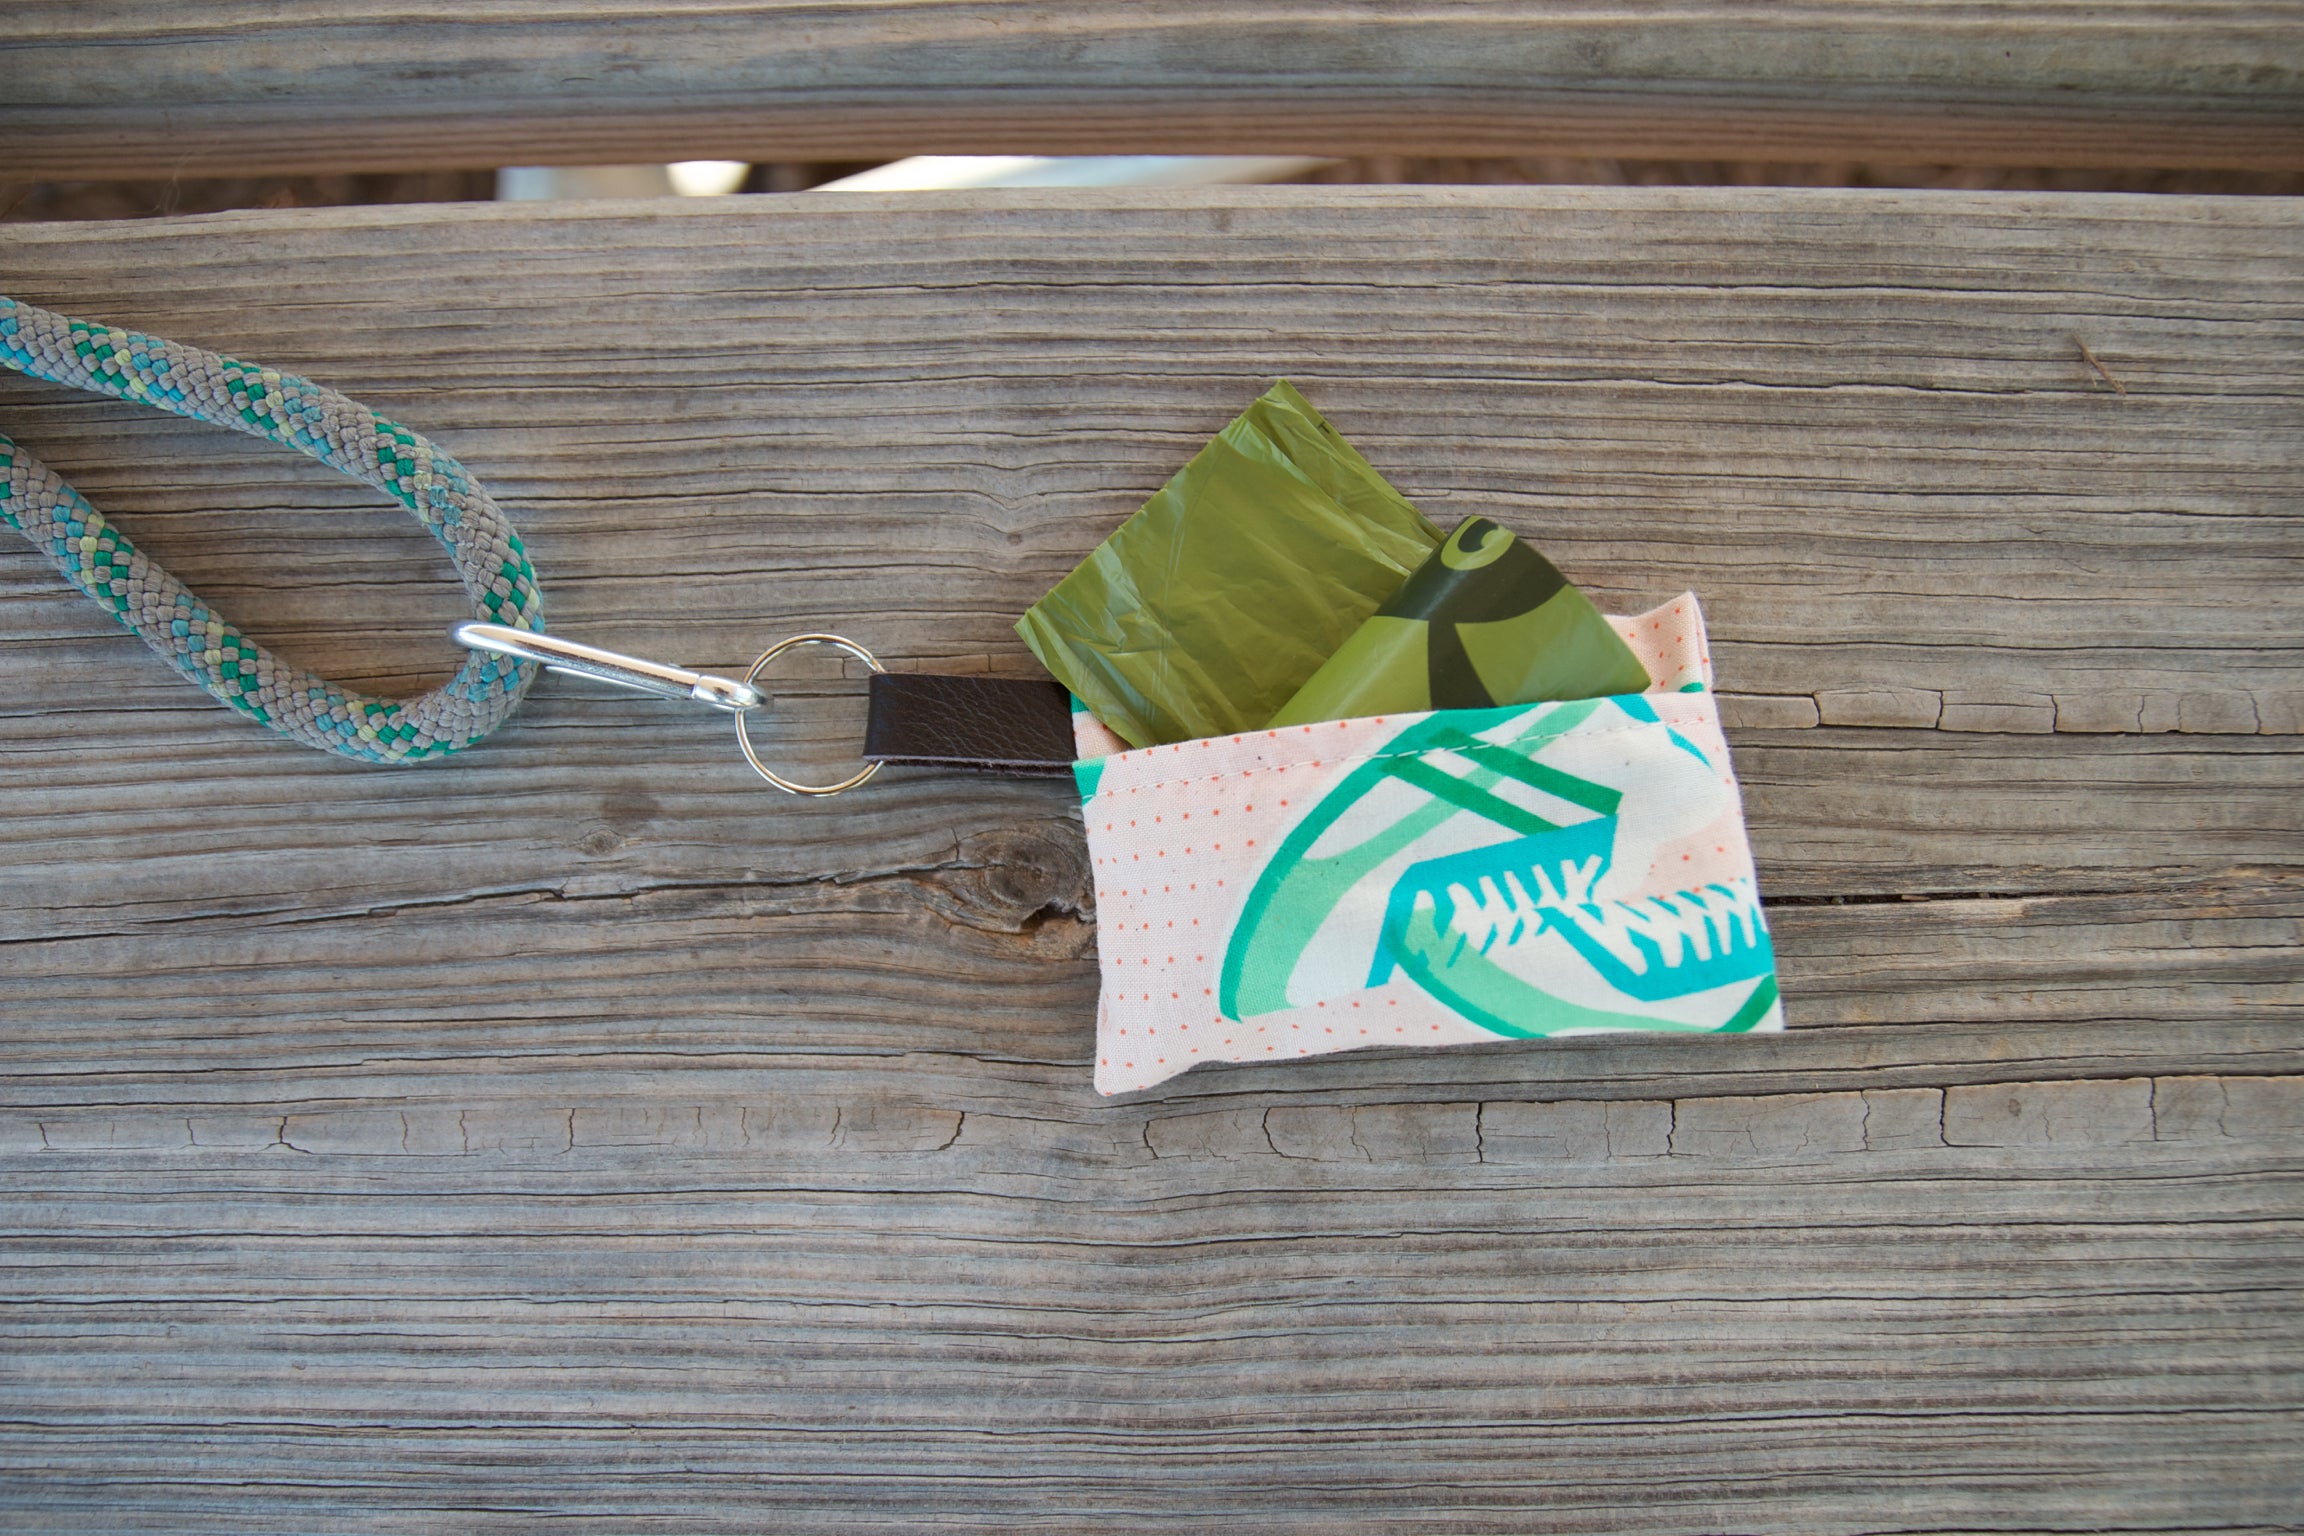
 So, the "Doggy Doo Bag" as we are calling it is just a simple pouch to hold a roll of garbage bags. It hooks onto a leash, bag, or a belt loop so you'll never be without supplies to clean up after your pooch. And it keeps the roll of bags from completely unrolling everywhere, while looking great in adorable fabric of course! Here's a step by step how-to!


 1. Cut (1) 8" x 5" piece of fabric.
2. Fold the short ends over 1/4" and press. Fold another 3/8", press and top stitch in place.
3. Find the center point of the fabric and mark.
1. Cut (1) 8" x 5" piece of fabric.
2. Fold the short ends over 1/4" and press. Fold another 3/8", press and top stitch in place.
3. Find the center point of the fabric and mark.


*Stop in the shop to use our grommet press for these steps, or use a grommet set to install them by hand.*
4. Make a hole for the grommet in the center of the fabric. 5. Insert the grommet in the hole.
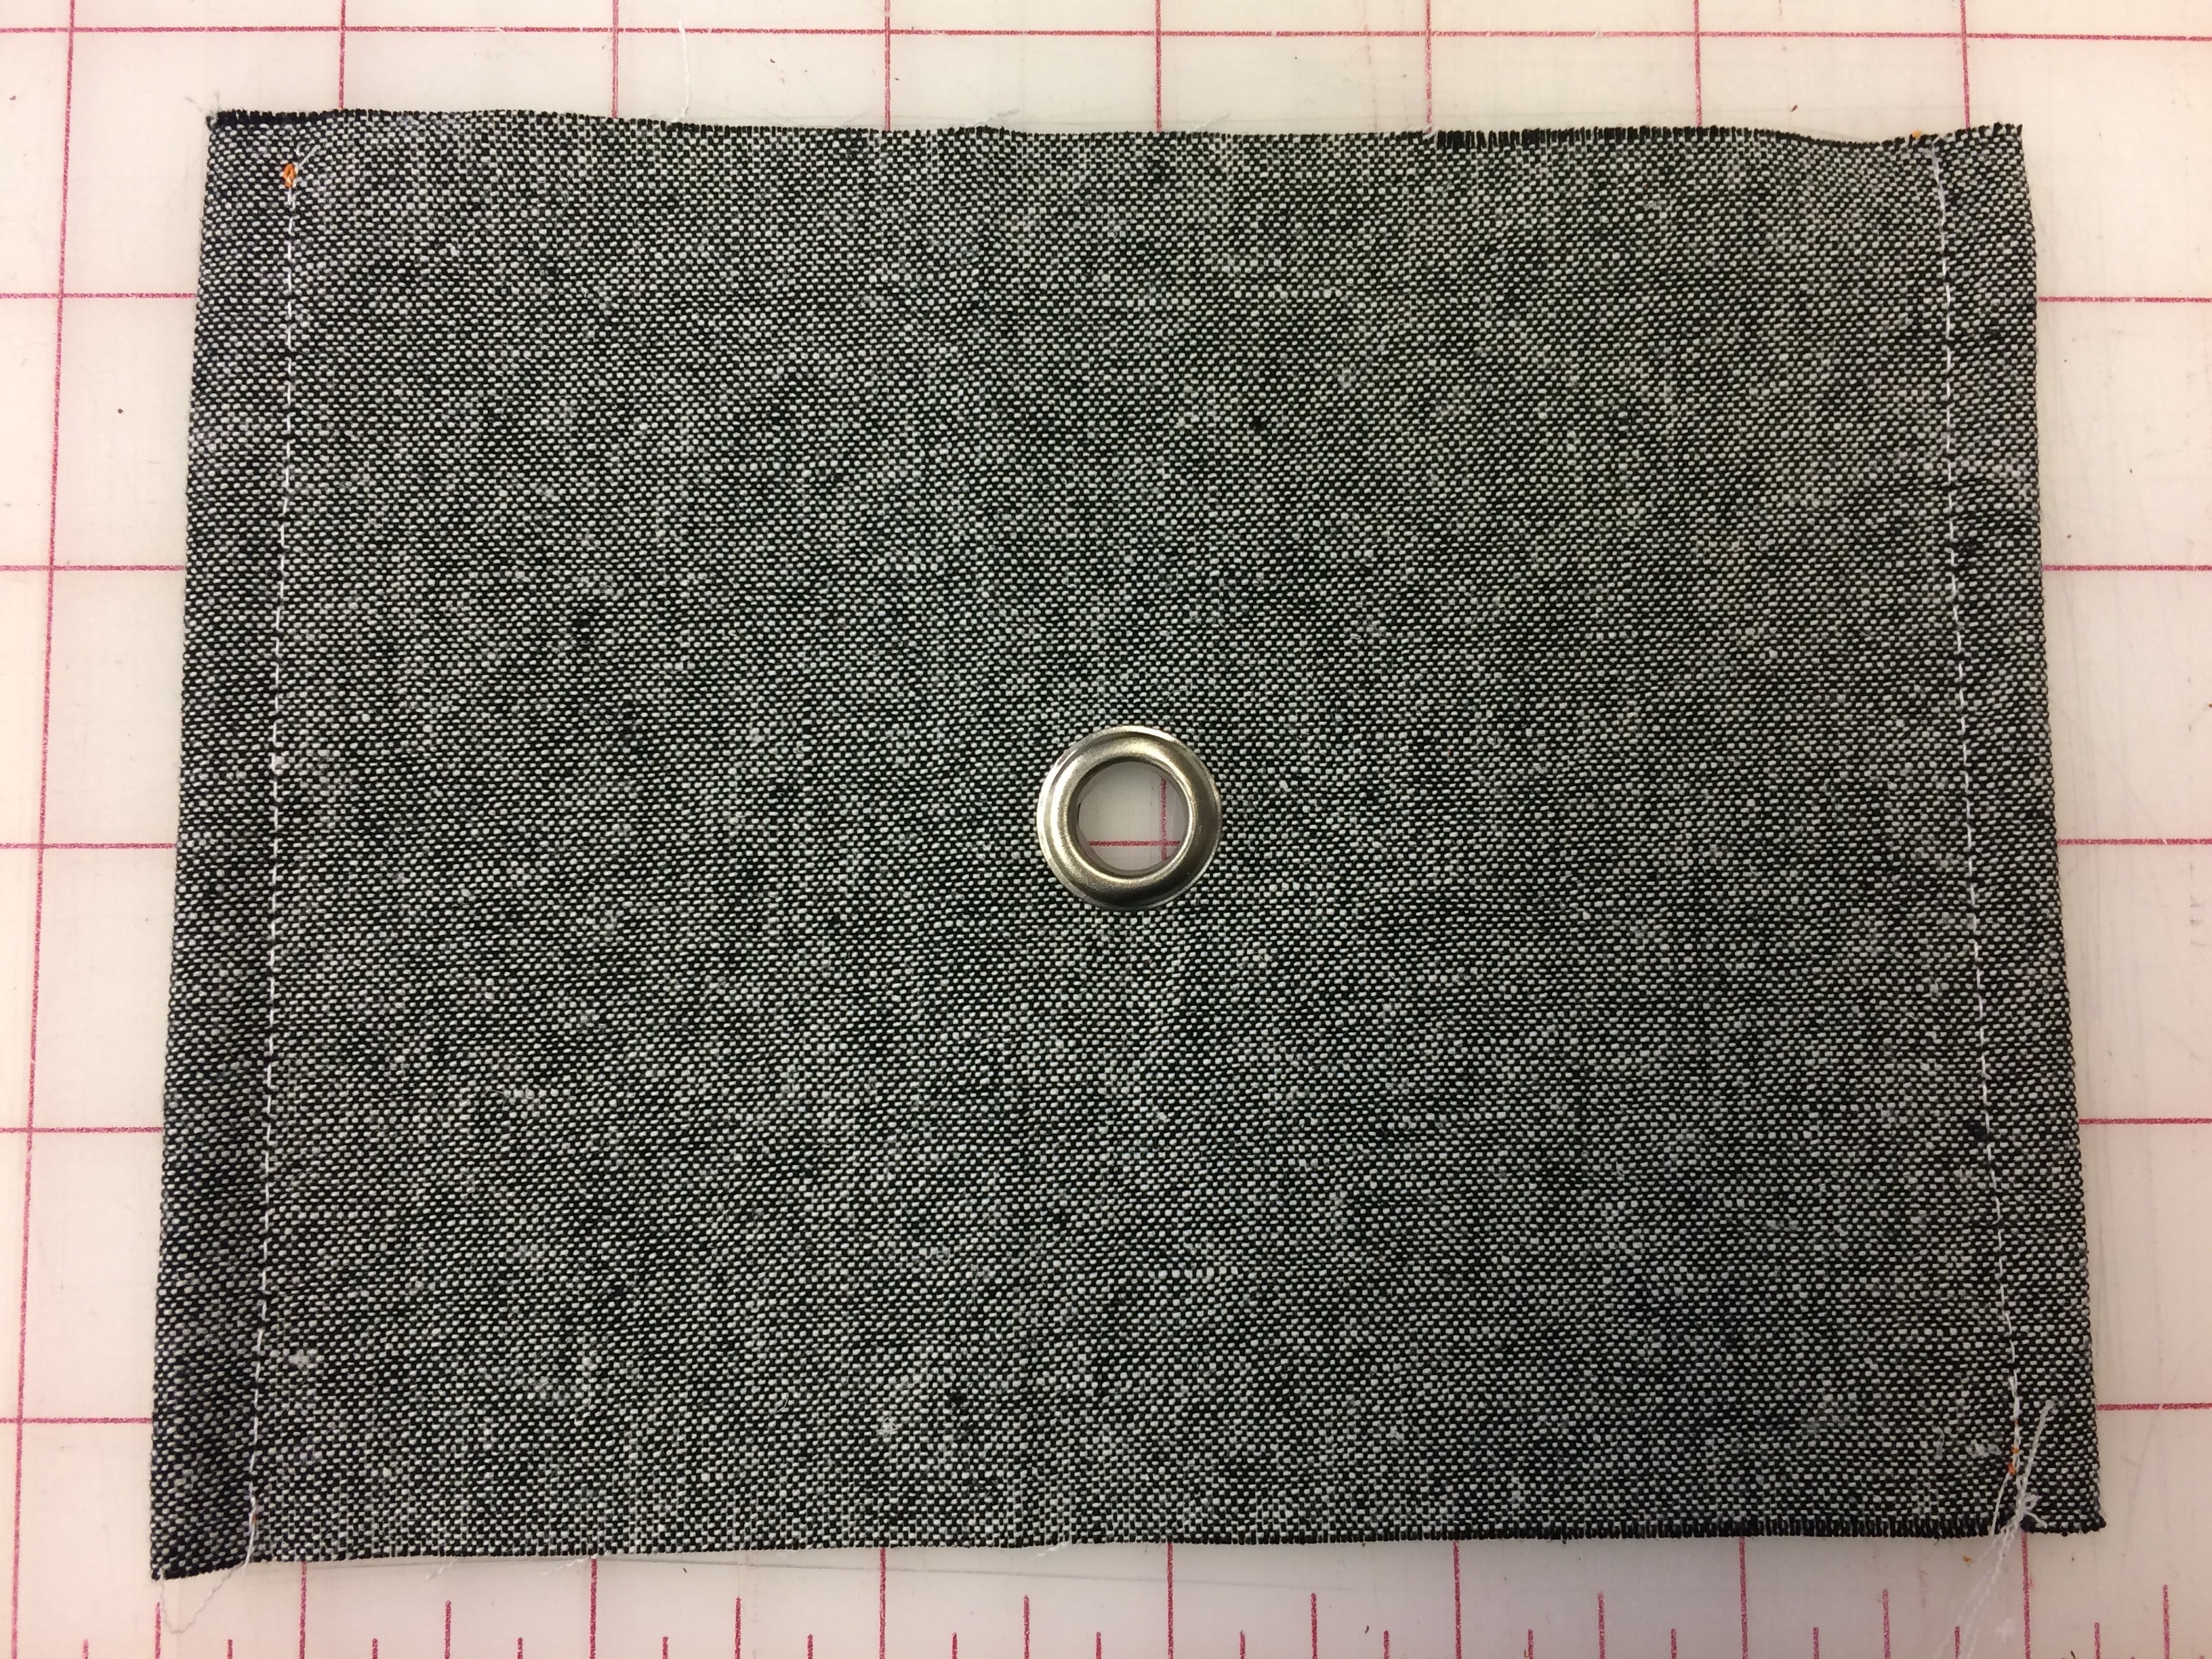
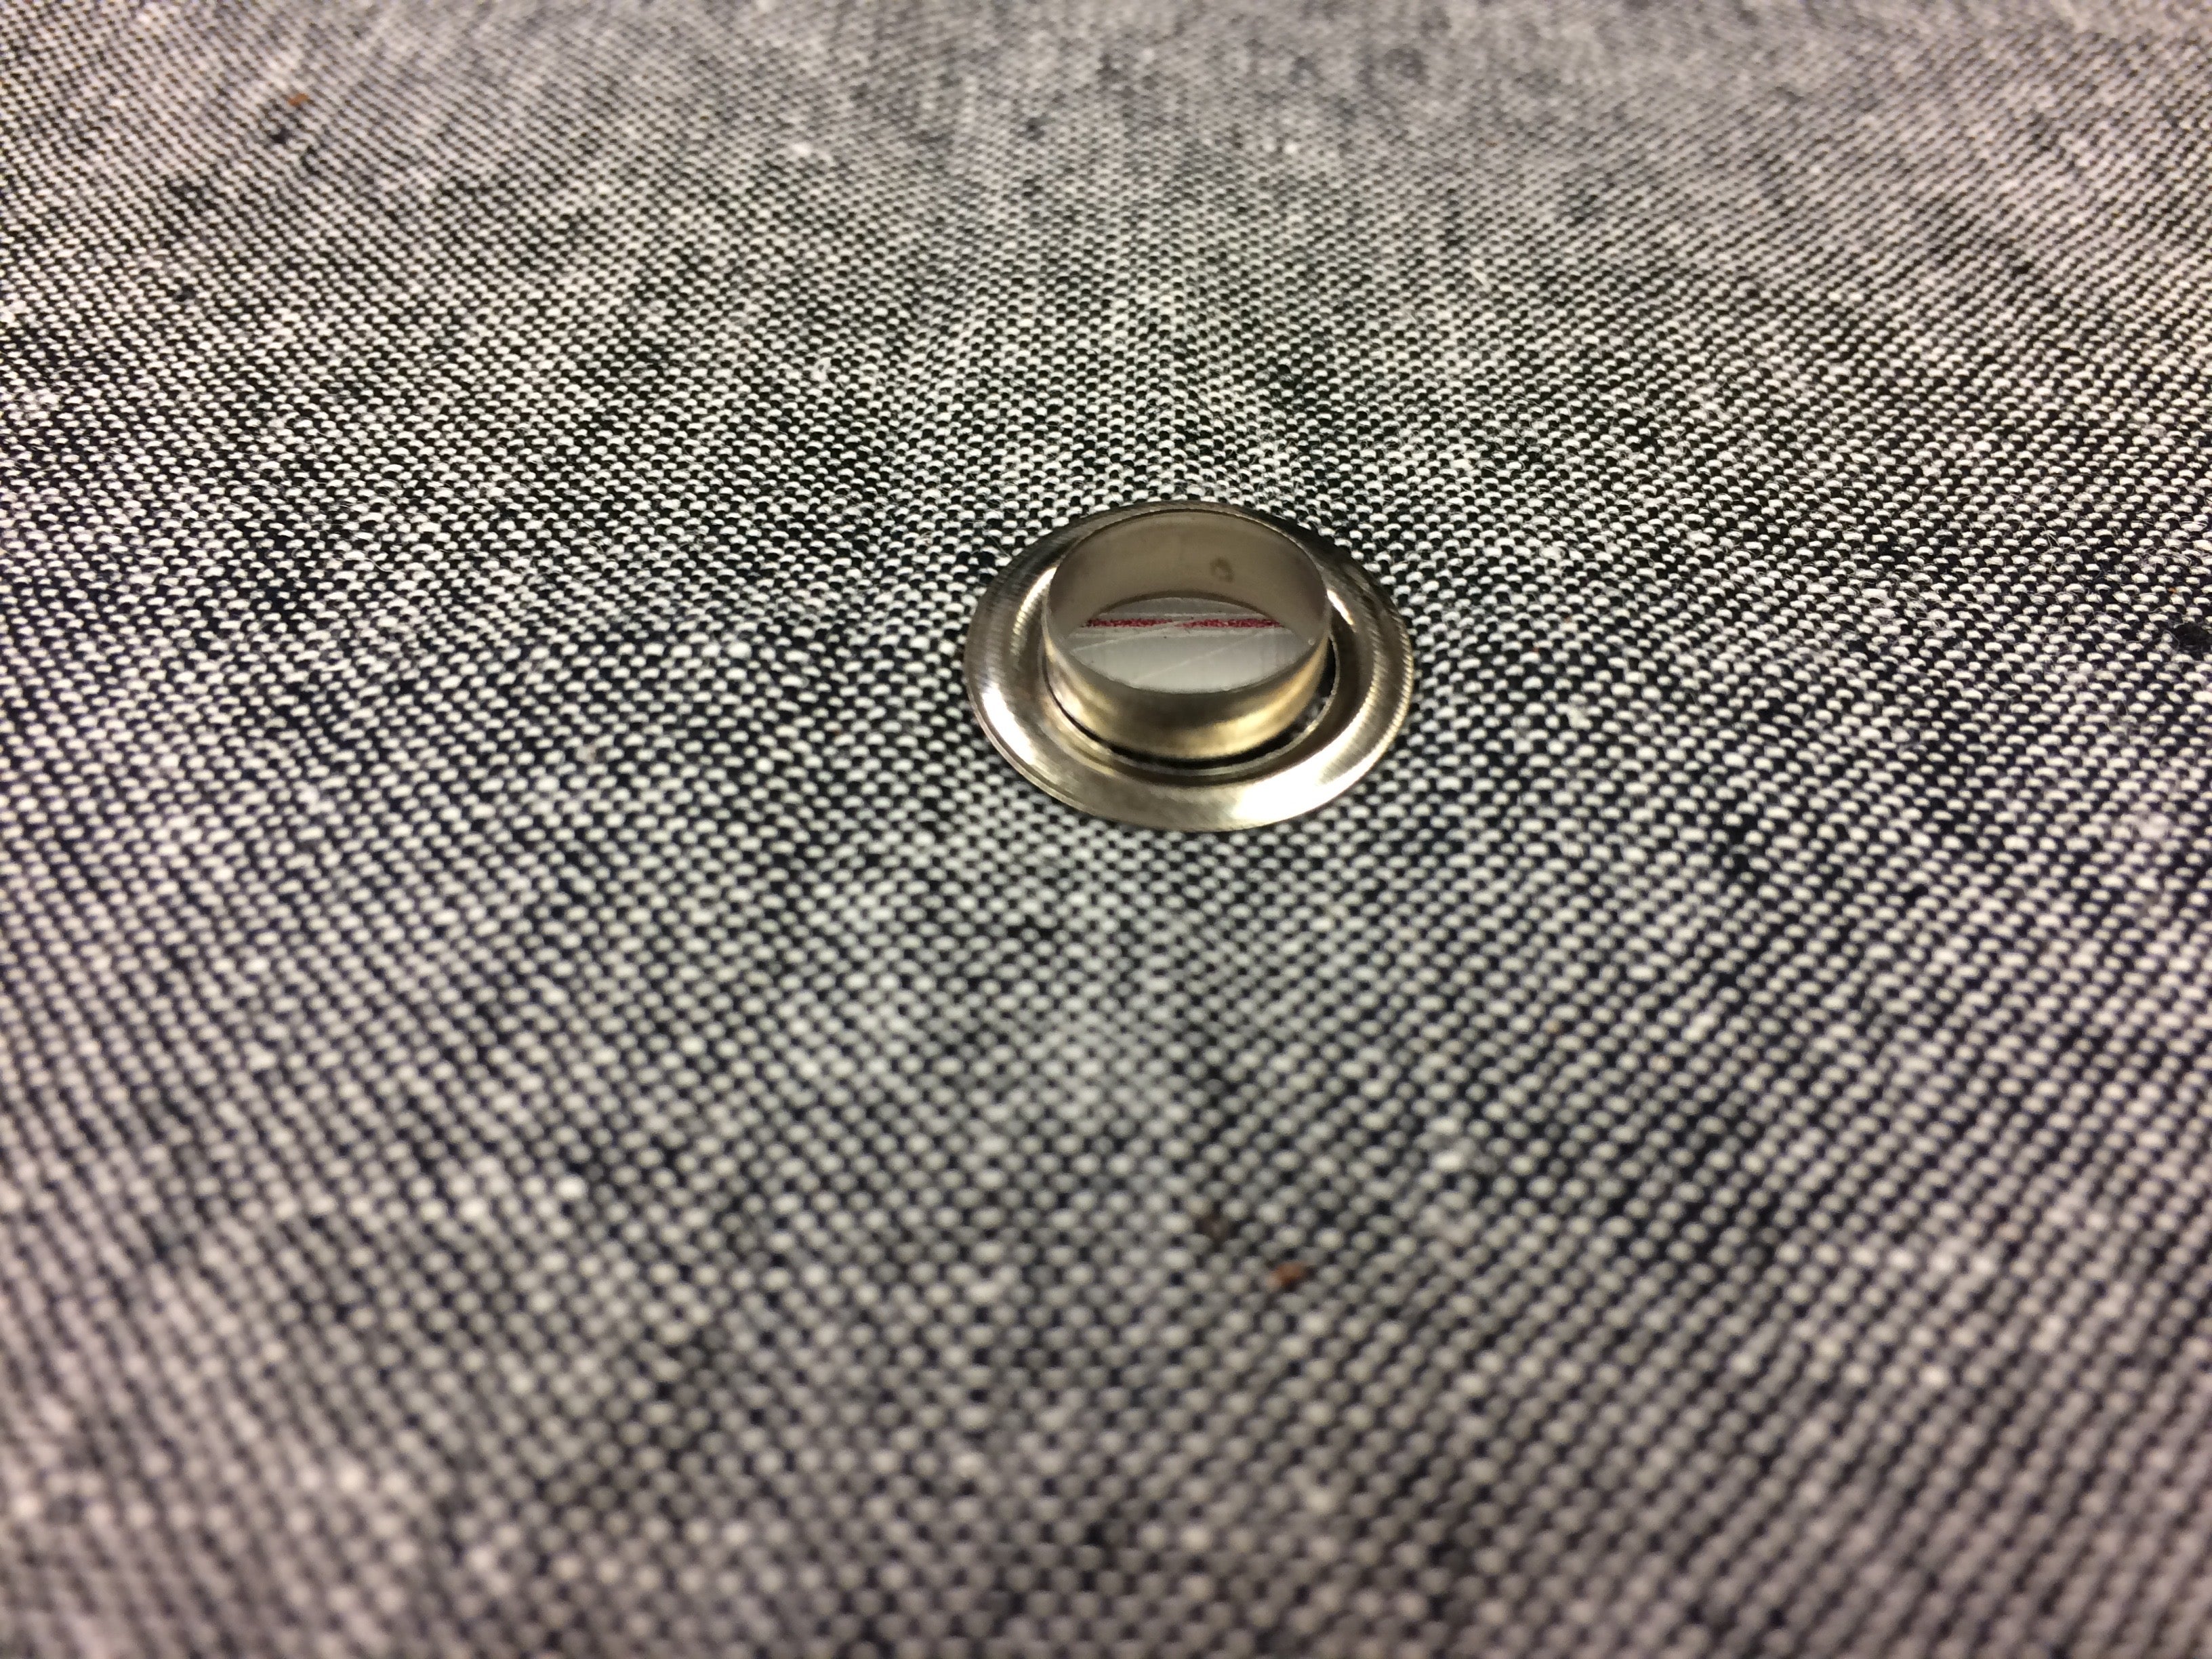
 5. Set the grommet using the press or a hammer.
6. Admire your beautiful grommet.
7. Fold one short end up 2", wrong sides together. (We will be making french seams, so this will feel wrong, but just trust me, it's right.)
5. Set the grommet using the press or a hammer.
6. Admire your beautiful grommet.
7. Fold one short end up 2", wrong sides together. (We will be making french seams, so this will feel wrong, but just trust me, it's right.)


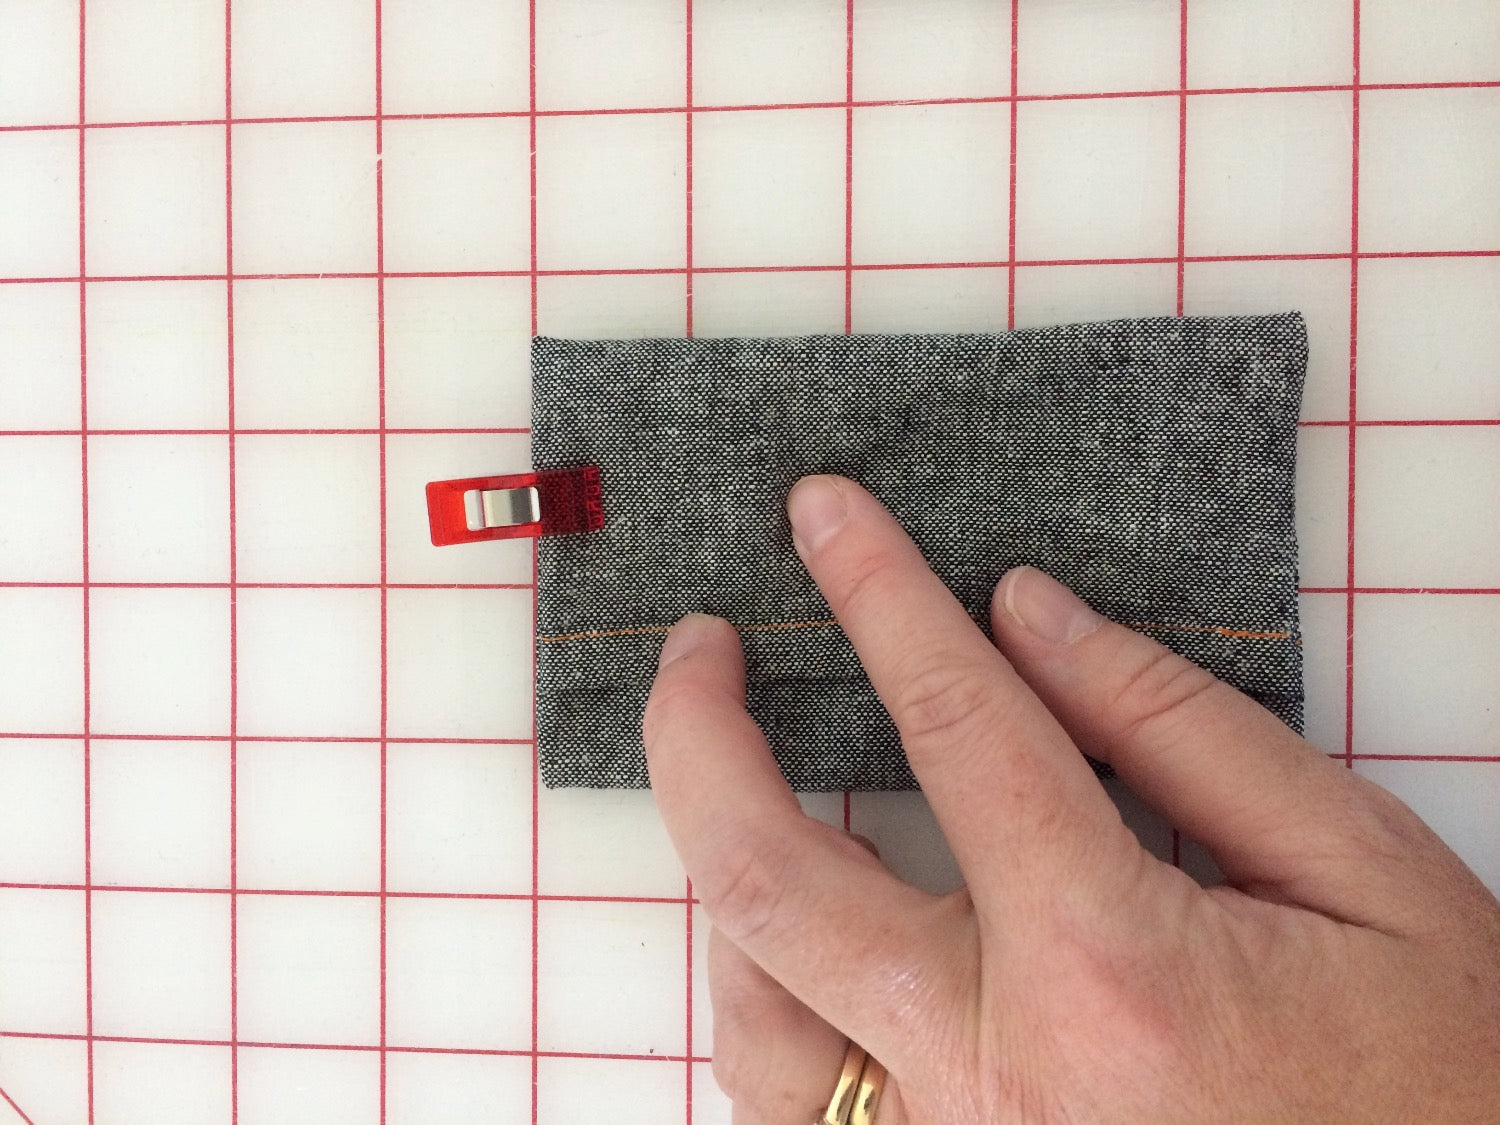
 8. Fold the remaining short side down so the piece measures 2-1/2" tall.
9. Clip or pin the sides.
10. Stitch using 1/8" seam allowance.
8. Fold the remaining short side down so the piece measures 2-1/2" tall.
9. Clip or pin the sides.
10. Stitch using 1/8" seam allowance.


 11. Turn sewn piece out so the right sides are now together. Cut leather strip 1/2" x 3".
12. Fold in half.
13. Insert leather strip inside the bag, right up against the seam in the side.
11. Turn sewn piece out so the right sides are now together. Cut leather strip 1/2" x 3".
12. Fold in half.
13. Insert leather strip inside the bag, right up against the seam in the side.

 15. Clip leather strip in place.
16. Sew the side seams using a 1/4" seam allowance (this should easily cover the first seam allowance. If your first seam allowance was a little bigger than planned, increase the allowance for this seam to cover it.)
17. Turn right side out, pushing out the corners well. Attached key ring and carabiner to the leather loop.
15. Clip leather strip in place.
16. Sew the side seams using a 1/4" seam allowance (this should easily cover the first seam allowance. If your first seam allowance was a little bigger than planned, increase the allowance for this seam to cover it.)
17. Turn right side out, pushing out the corners well. Attached key ring and carabiner to the leather loop.