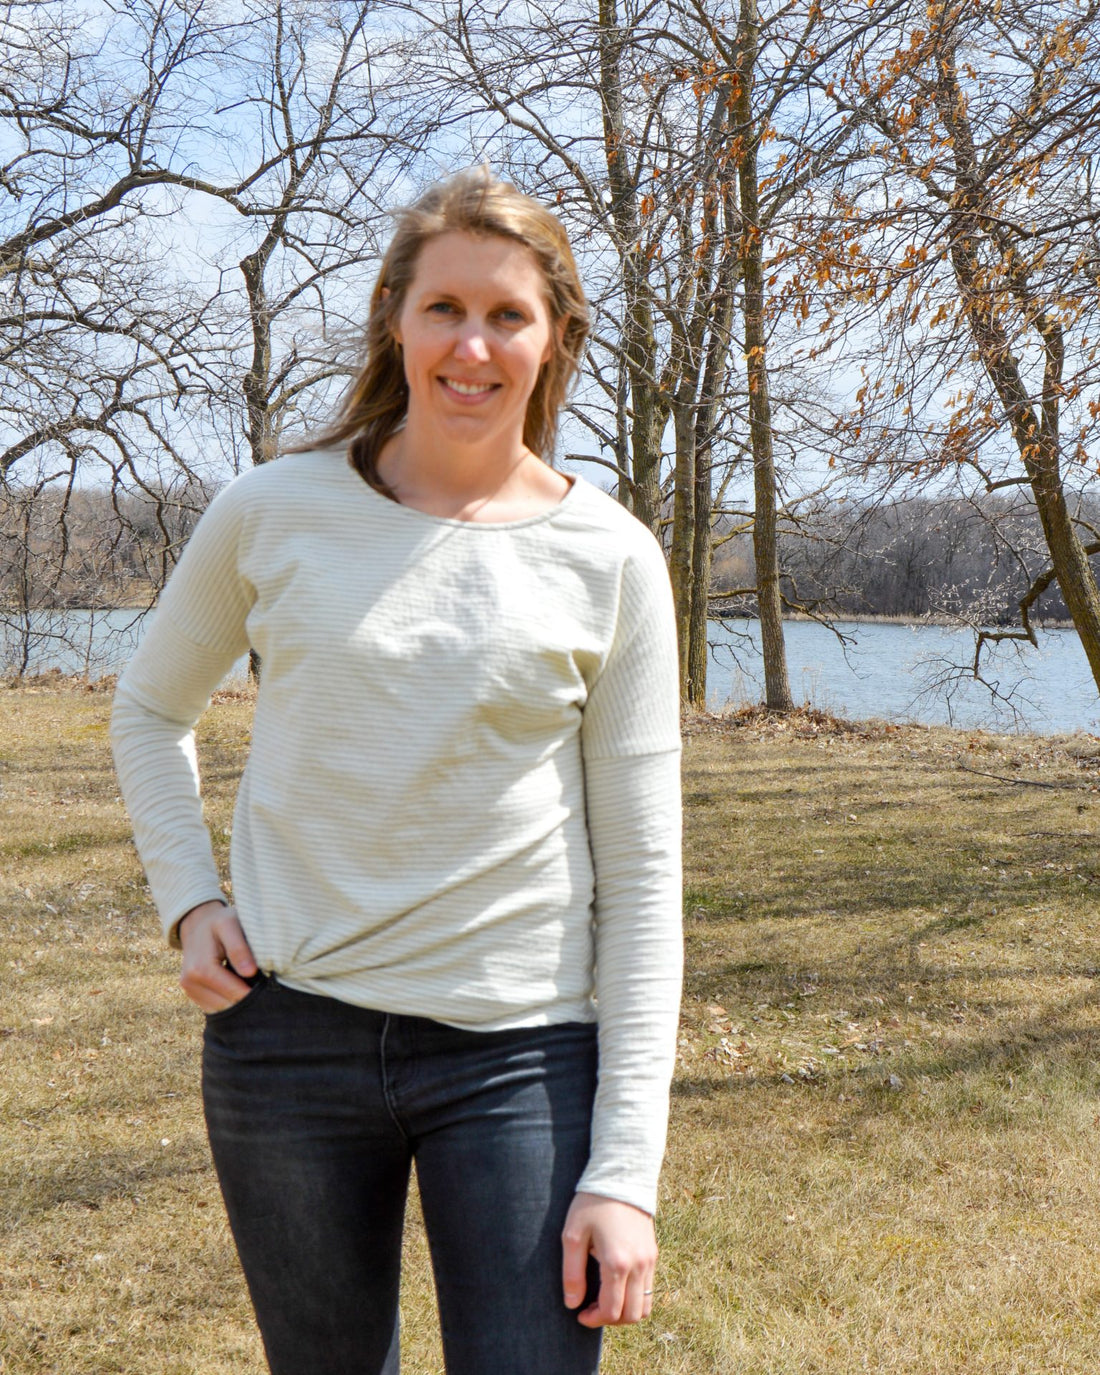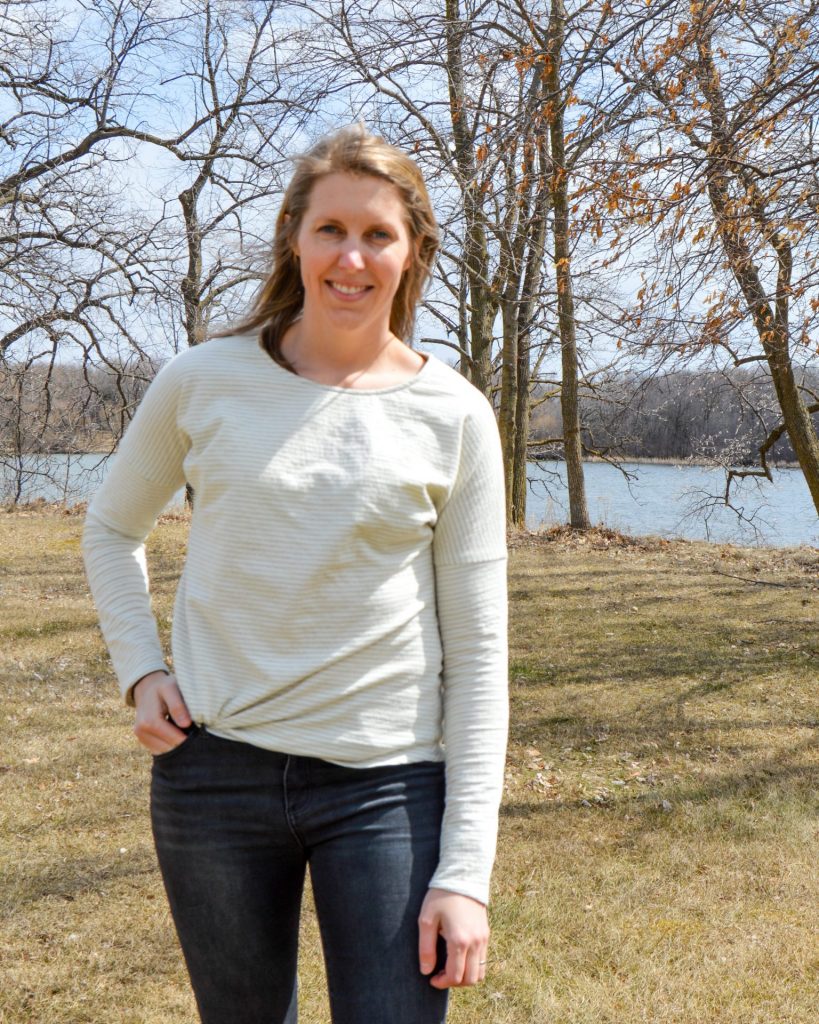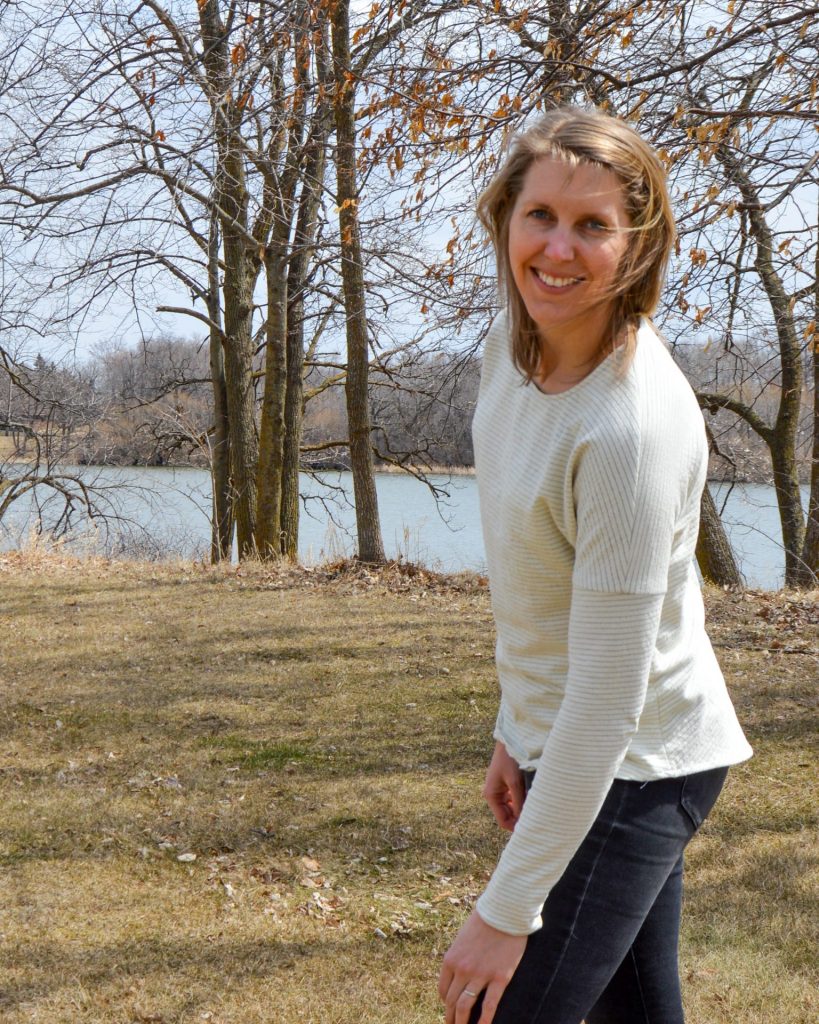
Garments for Quilters: Aurora Tee
Share

*Before we start, there are affiliate links within this blog post but do not affect the your prices.
Check out my week one of my #memademay garments for quilters adventure! If you haven't checked out the garment making for the quilter blog post - check it out here. It'll answer a lot of basic questions answered by Adrianna from Hey June Handmade - and she really gives you the confidence boost you may need to finally dive in to garment making.
The Aurora Tee pattern is a print at home pattern that allows for you to select the size(s) you may need reducing the overwhelming amount of lines that are on the standard paper pattern. Also she gives the great tip of cutting off the top and left of all pattern pages for easy taping.

For the Aurora Tee, I grabbed this French Terry knit for this from Lakes Makerie out of Minneapolis - because support small and local whenever you can!
Material Prep
Wash and dry the material prior to doing any sewing. If you are concerned about unraveling on the yardage, use a zig-zag stitch or serger on the cut ends of your fabric. If you are in this journey for the long haul, bulk wash and dry your fabrics so you can get straight to sewing the upcoming weeks.
Measurements
Does taking measurements freak you out? Check out this blog post from ClosetCase Patterns. Be sure to write your measurements down, especially if you intend on joining me on this journey. It'll be one less thing you have to do weekly.

After taking measurements I found that I was a size medium in the bust but a large in the hip area. The Aurora Tee pattern is written beautifully to accommodate between sizing. So I selected both sizes prior to printing and then just made a simple line connecting the medium armpit line and large hem line to accommodate the change. Then cut out all the
Alterations to Pattern
The other alteration I made was in the length of the sleeves. I'm 6' feet tall and carry most of my height in my legs and not so much my torso. So I didn't monkey with the body length of the shirt but did add an extra 3" to the sleeve length. The sleeves fit perfectly covering my wrist bone - but I think the next time, I'll be going for 4", just a personal preference. To achieve the longer sleeve, I cut the arm template in the middle and added 3" of scrap paper to the back. Then I attached the two original pieces and connected them with a line to create the longer pattern piece.
The Aurora Tee took a morning to cut out and create! Since I used a knit that didn't frey, I didn't even need the zig zag stitch of my machine! Also since it was a knit, I needed to be mindful to not stretch the material. So I let the machine pull the fabric and I just guided...there is no need to stretch the knit during the assembly process - this will create distortion and puckering at seams.

Another blessing for this top is the drop shoulder seam, so there is no concern about the shoulders fitting perfectly - which is fantastic news to hear from someone with broad shoulders.
Additional Items Required
This pattern calls for Tri-Cot fusible interfacing, so I just googled it and found that Pellon EK130 Easy Knit was the best option for Knits...and since I'll be doing quite a bit of knit sewing in the upcoming weeks I grabbed a couple yards. I've added the interfacing I purchased through the MT Amazon Shop here. You will also need Ball Point needles or Knit needles. Here are the Singer ball point needles that I used for this project and had no problem.

I hope you enjoy making this top as much as I did and I am certain there will be more Aurora Tops in my future when the fall arrives! Also, I'm sewing some labels to my garments from Kylie and the Machine - here is the link to the labels I've got for my garment making journey!
Enjoy!

Katie, Modern Textiles
