A tradition at our house is to open new pajamas on Christmas Eve. Admittedly this started (and continues) because everyone always needs new pajamas, but even better for a tradition to actually be something you need right?! Many years ago (pre-Modern Textiles and a kid or two ago) I made pajamas pants for everyone. In the years since I have purchased them, but this year I decided it was going to be different. Handmade pajamas were going back on the list!
We tracked down a pajama pants pattern (which was harder than you might think) and I started picking fabric.
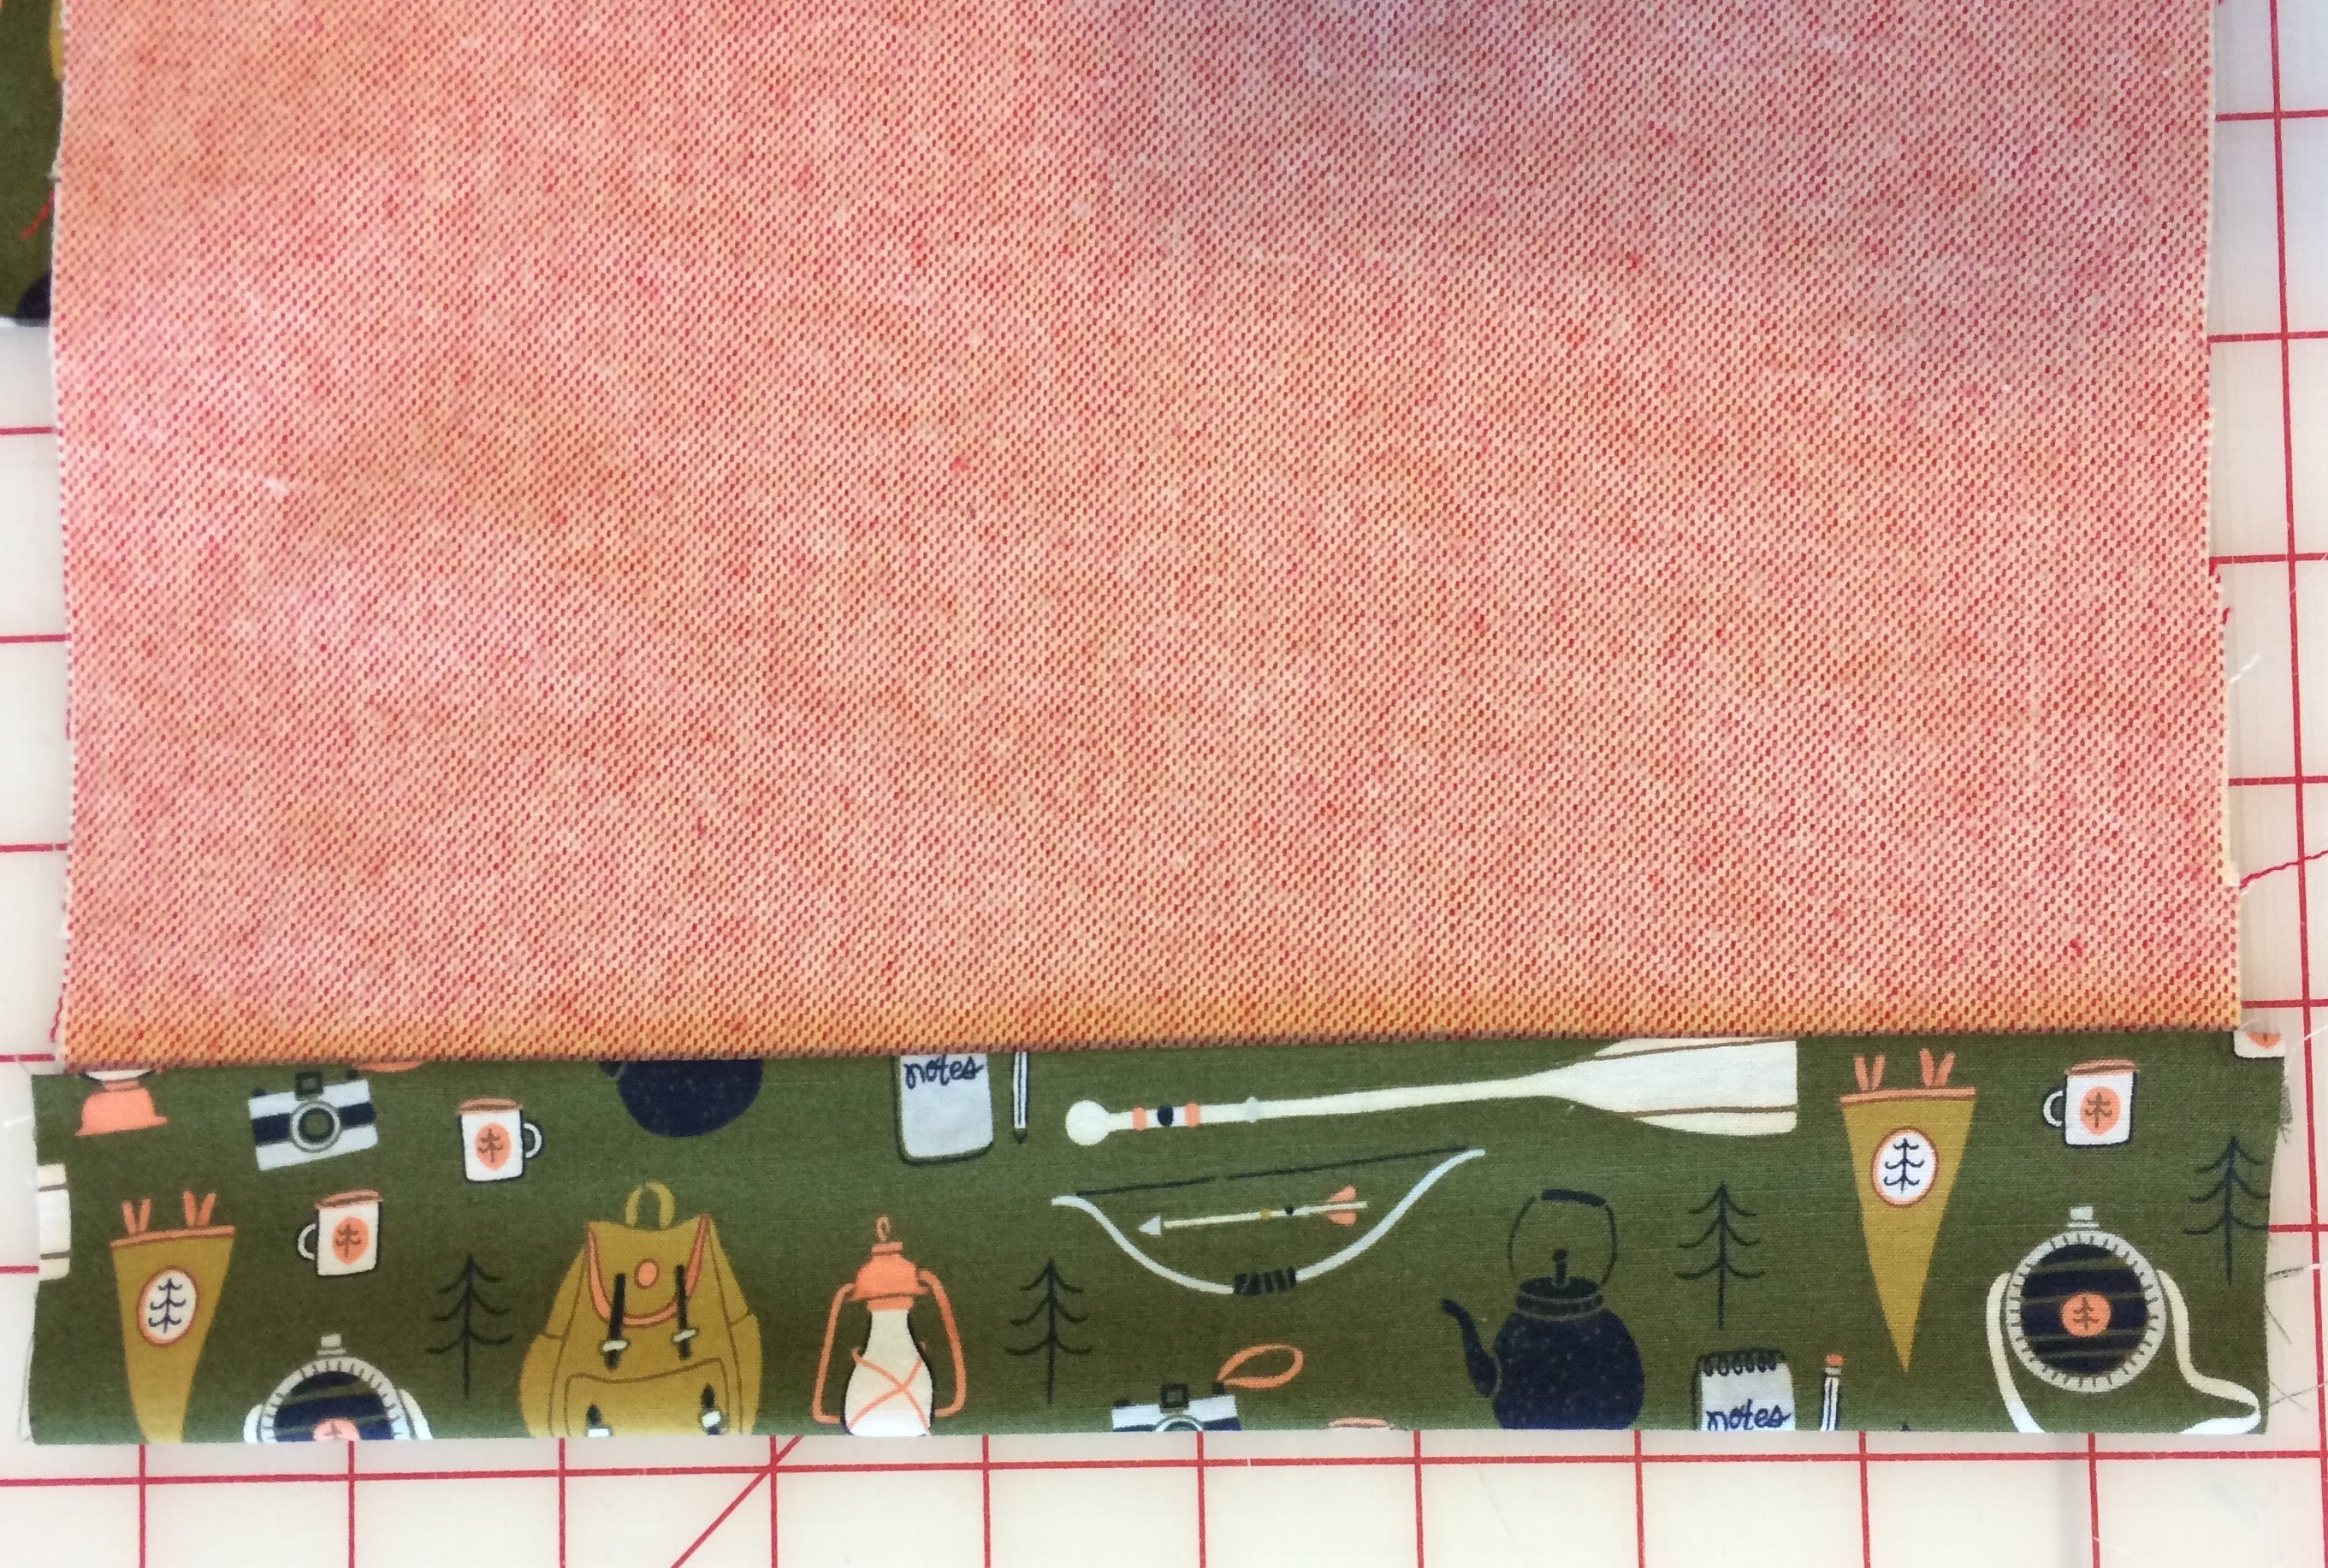
There are so many great prints available in quilting cotton that it makes it really easy to personalize an adorable pair of PJ's.
Like bikes, piano keys or just all out Christmas! But, don't forget about other substrates. Rayon created the most luxuriously soft pants that are flowy and ridiculously comfortable. Pre-wash and dry our amazing rayon and you'll be shocked how easy it is to take care of! Lawn, organic fleece, even knit are also great choices for pajama pants.
While I was glad I had a pattern to start with, I did use a pair of pants from each person to pick the right pattern size instead of measuring them. I wanted to keep the gifts a secret and asking to measure each of them was sure to give it all away. The sizes on the pattern (for kids especially) are not the same as store size, so some type of measurement to go by would be a good idea.
I bought the kid and adult version of the patterns and traced them onto Swedish Tracing Paper since I knew I would use this pattern for many years to come. I like to use a pencil and a ruler for this. I promise it only adds a few minutes to the project and is well worth it. I pre-washed all the fabric to preshrink it before I started sewing. This is always an important step when sewing clothes, especially when using flannel since the looser weave of the fabric will result in more shrinkage. Pre-wash the fabric however you plan to wash the finished item.
Here are a few other changes I made:
I slimmed the legs down a bit depending on the individual body type and fabric choice. I took a good couple inches out of the width of the legs for my daughter, but I left the full width of the leg for my pair from rayon since I was going for that drapey effect. The pattern as written is a wide legged pant.
I lowered the rise on all of the pants by about 1". There is a line on the pattern that shows where to adjust this. It's much easier to do this on your tracing paper before you start cutting fabric rather than trying to fix the fit after you've sewn them. (Yes, I learned this the hard way!) Again comparing to a pair of pants that fit the recipient is a good way to judge if you need to do this step.
I added a faux cuff to the bottom of my daughter's pants. I wanted to add a fun detail and couldn't resist this fabric combo! The pants pictured are size 10/12. I think the same cuff could work on any size kids pants. For adults you may want to make a bit bigger cuff so the proportions of the leg to cuff look right. I call it a "faux" cuff because it isn't folded up in the true sense of a cuff, but it looks like it is. Also, I add the cuff section before I sew the pant legs together. Here's how I did it:
Faux Cuffs
Cut (4) 4-1/2" x width of the bottom of the pant leg pattern piece
Cut front and back pant legs. The cuff is going to add 1 inch of length past the raw edge of the flannel fabric to the leg, so adjust your pattern piece as needed to accommodate this.
1. For each pant leg (there will be four total - two fronts and two backs) pin the RIGHT side of the cuff to the WRONG side of the pant leg so that the raw edges match. Note in the photo the direction of my fabric. It should be right side up at this point.
2. Sew together with a 1/2" seam allowance. Press towards the accent fabric.
3. Fold the bottom edge of the cuff up 1/2" and press.
4. Fold up about 1-3/4" so that the folded edge from Step 3 matches the seam on the back of the pant leg. Pin in place.
5. Repeat Steps 1-4 for the remaining pant legs. Compare them all to each other so you can be sure that the cuffs will match up once the pant legs are sewn. Then top stitch the cuffs in place close to the folded edge. Pay attention when you sew the pant legs together so that the cuff matches up well.
There it is! Nicely finished on the outside and inside!
Pockets would also be a great addition to this pants pattern! Check out this tutorial for a great inseam pocket explanation. They are easier than you think and might be just the detail that makes these your favorite PJ's!
Other things to remember:
While I would definitely call this pattern great for beginners (maybe not your very first project, but easily your second or third) it can be a little tricky to wrap your head around the first time you try it. The first step is to connect the front left and front right together at the middle seam, which dips down into the crotch. But when you are sewing things right sides together the crotch actually swoops out, like a slide. So it feels strange and can be hard to visualize what you are doing. You do this same step for the back left and right. Once you've got a completed front and a completed back you connect these pieces by sewing the insides of the front and back legs together. After that they are going to be done in no time and you'll see why you should never buy pajama pants again - these things are easy! Just take a deep breath, read the instructions, look at the pictures and don't think too hard about it. Sometimes it's best to just do what they say and figure out why afterwards! And of course, we are always here to help if you run into trouble. I have no doubt that you can do it!
Worried about getting just the right fit? No one will mind if you leave a small section of the waistband open to make adjustments like I did here on my husband's. If you are really worried you could even wait to hem the pant legs until the recipient can try them on. If a sewing machine isn't available at your Christmas venue it wouldn't take long to hand stitch the hem while you watch a Christmas movie!
I wish I could show you a perfectly styled photo of my family in their Christmas PJ pants, but 1. I don't want to show them their gifts before Christmas and 2. my life is anything but styled and perfect!
Happy Christmas Sewing! It's not too late to start this tradition this year!
Roxanne


 A tradition at our house is to open new pajamas on Christmas Eve. Admittedly this started (and continues) because everyone always needs new pajamas, but even better for a tradition to actually be something you need right?! Many years ago (pre-Modern Textiles and a kid or two ago) I made pajamas pants for everyone. In the years since I have purchased them, but this year I decided it was going to be different. Handmade pajamas were going back on the list!
We tracked down a pajama pants pattern (which was harder than you might think) and I started picking fabric.
A tradition at our house is to open new pajamas on Christmas Eve. Admittedly this started (and continues) because everyone always needs new pajamas, but even better for a tradition to actually be something you need right?! Many years ago (pre-Modern Textiles and a kid or two ago) I made pajamas pants for everyone. In the years since I have purchased them, but this year I decided it was going to be different. Handmade pajamas were going back on the list!
We tracked down a pajama pants pattern (which was harder than you might think) and I started picking fabric.


 I bought the kid and adult version of the patterns and traced them onto Swedish Tracing Paper since I knew I would use this pattern for many years to come. I like to use a pencil and a ruler for this. I promise it only adds a few minutes to the project and is well worth it. I pre-washed all the fabric to preshrink it before I started sewing. This is always an important step when sewing clothes, especially when using flannel since the looser weave of the fabric will result in more shrinkage. Pre-wash the fabric however you plan to wash the finished item.
Here are a few other changes I made:
I slimmed the legs down a bit depending on the individual body type and fabric choice. I took a good couple inches out of the width of the legs for my daughter, but I left the full width of the leg for my pair from rayon since I was going for that drapey effect. The pattern as written is a wide legged pant.
I lowered the rise on all of the pants by about 1". There is a line on the pattern that shows where to adjust this. It's much easier to do this on your tracing paper before you start cutting fabric rather than trying to fix the fit after you've sewn them. (Yes, I learned this the hard way!) Again comparing to a pair of pants that fit the recipient is a good way to judge if you need to do this step.
I bought the kid and adult version of the patterns and traced them onto Swedish Tracing Paper since I knew I would use this pattern for many years to come. I like to use a pencil and a ruler for this. I promise it only adds a few minutes to the project and is well worth it. I pre-washed all the fabric to preshrink it before I started sewing. This is always an important step when sewing clothes, especially when using flannel since the looser weave of the fabric will result in more shrinkage. Pre-wash the fabric however you plan to wash the finished item.
Here are a few other changes I made:
I slimmed the legs down a bit depending on the individual body type and fabric choice. I took a good couple inches out of the width of the legs for my daughter, but I left the full width of the leg for my pair from rayon since I was going for that drapey effect. The pattern as written is a wide legged pant.
I lowered the rise on all of the pants by about 1". There is a line on the pattern that shows where to adjust this. It's much easier to do this on your tracing paper before you start cutting fabric rather than trying to fix the fit after you've sewn them. (Yes, I learned this the hard way!) Again comparing to a pair of pants that fit the recipient is a good way to judge if you need to do this step.
 I added a faux cuff to the bottom of my daughter's pants. I wanted to add a fun detail and couldn't resist this fabric combo! The pants pictured are size 10/12. I think the same cuff could work on any size kids pants. For adults you may want to make a bit bigger cuff so the proportions of the leg to cuff look right. I call it a "faux" cuff because it isn't folded up in the true sense of a cuff, but it looks like it is. Also, I add the cuff section before I sew the pant legs together. Here's how I did it:
Faux Cuffs
Cut (4) 4-1/2" x width of the bottom of the pant leg pattern piece
Cut front and back pant legs. The cuff is going to add 1 inch of length past the raw edge of the flannel fabric to the leg, so adjust your pattern piece as needed to accommodate this.
1. For each pant leg (there will be four total - two fronts and two backs) pin the RIGHT side of the cuff to the WRONG side of the pant leg so that the raw edges match. Note in the photo the direction of my fabric. It should be right side up at this point.
I added a faux cuff to the bottom of my daughter's pants. I wanted to add a fun detail and couldn't resist this fabric combo! The pants pictured are size 10/12. I think the same cuff could work on any size kids pants. For adults you may want to make a bit bigger cuff so the proportions of the leg to cuff look right. I call it a "faux" cuff because it isn't folded up in the true sense of a cuff, but it looks like it is. Also, I add the cuff section before I sew the pant legs together. Here's how I did it:
Faux Cuffs
Cut (4) 4-1/2" x width of the bottom of the pant leg pattern piece
Cut front and back pant legs. The cuff is going to add 1 inch of length past the raw edge of the flannel fabric to the leg, so adjust your pattern piece as needed to accommodate this.
1. For each pant leg (there will be four total - two fronts and two backs) pin the RIGHT side of the cuff to the WRONG side of the pant leg so that the raw edges match. Note in the photo the direction of my fabric. It should be right side up at this point.
 2. Sew together with a 1/2" seam allowance. Press towards the accent fabric.
 3. Fold the bottom edge of the cuff up 1/2" and press.
 4. Fold up about 1-3/4" so that the folded edge from Step 3 matches the seam on the back of the pant leg. Pin in place.
 5. Repeat Steps 1-4 for the remaining pant legs. Compare them all to each other so you can be sure that the cuffs will match up once the pant legs are sewn. Then top stitch the cuffs in place close to the folded edge. Pay attention when you sew the pant legs together so that the cuff matches up well.
 There it is! Nicely finished on the outside and inside!
 Pockets would also be a great addition to this pants pattern! Check out this tutorial for a great inseam pocket explanation. They are easier than you think and might be just the detail that makes these your favorite PJ's!
Other things to remember:
While I would definitely call this pattern great for beginners (maybe not your very first project, but easily your second or third) it can be a little tricky to wrap your head around the first time you try it. The first step is to connect the front left and front right together at the middle seam, which dips down into the crotch. But when you are sewing things right sides together the crotch actually swoops out, like a slide. So it feels strange and can be hard to visualize what you are doing. You do this same step for the back left and right. Once you've got a completed front and a completed back you connect these pieces by sewing the insides of the front and back legs together. After that they are going to be done in no time and you'll see why you should never buy pajama pants again - these things are easy! Just take a deep breath, read the instructions, look at the pictures and don't think too hard about it. Sometimes it's best to just do what they say and figure out why afterwards! And of course, we are always here to help if you run into trouble. I have no doubt that you can do it!
Pockets would also be a great addition to this pants pattern! Check out this tutorial for a great inseam pocket explanation. They are easier than you think and might be just the detail that makes these your favorite PJ's!
Other things to remember:
While I would definitely call this pattern great for beginners (maybe not your very first project, but easily your second or third) it can be a little tricky to wrap your head around the first time you try it. The first step is to connect the front left and front right together at the middle seam, which dips down into the crotch. But when you are sewing things right sides together the crotch actually swoops out, like a slide. So it feels strange and can be hard to visualize what you are doing. You do this same step for the back left and right. Once you've got a completed front and a completed back you connect these pieces by sewing the insides of the front and back legs together. After that they are going to be done in no time and you'll see why you should never buy pajama pants again - these things are easy! Just take a deep breath, read the instructions, look at the pictures and don't think too hard about it. Sometimes it's best to just do what they say and figure out why afterwards! And of course, we are always here to help if you run into trouble. I have no doubt that you can do it!
 Worried about getting just the right fit? No one will mind if you leave a small section of the waistband open to make adjustments like I did here on my husband's. If you are really worried you could even wait to hem the pant legs until the recipient can try them on. If a sewing machine isn't available at your Christmas venue it wouldn't take long to hand stitch the hem while you watch a Christmas movie!
 I wish I could show you a perfectly styled photo of my family in their Christmas PJ pants, but 1. I don't want to show them their gifts before Christmas and 2. my life is anything but styled and perfect!
Happy Christmas Sewing! It's not too late to start this tradition this year!
Roxanne
I wish I could show you a perfectly styled photo of my family in their Christmas PJ pants, but 1. I don't want to show them their gifts before Christmas and 2. my life is anything but styled and perfect!
Happy Christmas Sewing! It's not too late to start this tradition this year!
Roxanne
