

Quilt Exhibit Challenge, Part 2
 A few weeks ago Connie shared the quilt she made for the Quilt Exhibit Challenge. Today I'm here to share mine!
- Must use some of each of the four fabrics in the kit.
- Must contain at least one star block from Kaye England's Sourdough pattern (included with the kit)
- Must be a finished quilt - front, batting and backing.
- Can be bound or faced.
- Must be 36" square or smaller.

 Once I had finished my main star block I had two issues to deal with. 1. I hadn't used the white fabric from the kit and 2. I still had a huge pile of leftover scraps. I decided to use up all the scraps and make a pieced border around the block. I really like how this turned out and it was a great feeling to make use of those tiny bits! To solve my other problem I decided to try something new (to me) and make a flange binding. (A flange binding is that extra flap of fabric in a binding that looks similar to piping.) This would add back in just the right amount of white so I could follow the rules, but not take away from the look I was going for. I used this tutorial to make my binding. It's easier than I thought it would be, but does take some extra time. I am really happy with how the binding turned out though, and wouldn't hesitate to do this on another project!
 I'm really happy with my final results and even though I am desperately trying to soak up what feels like the last few days of summer before school kicks in and makes it feel like fall - this quilt definitely has a fall feel to it and I think will be fun to display as we shift into that mindset.
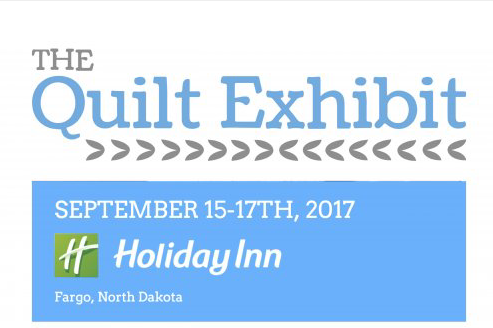
I am so excited to see the full display of Quilt Exhibit Challenge quilts and I really hope YOUR project is there! There's still time to join in - grab a kit HERE or stop in the shop and we'll help you get started.
Don't forget to turn in your finished projects to Modern Textiles or Blow's Sew-N-Vac by September 1st to be part of the Challenge display and to be eligible to win some of our amazing prizes (a sewing machine, $100 gift card to MT, or a $50 gift card to Blow's!!)
I'm really happy with my final results and even though I am desperately trying to soak up what feels like the last few days of summer before school kicks in and makes it feel like fall - this quilt definitely has a fall feel to it and I think will be fun to display as we shift into that mindset.
I am so excited to see the full display of Quilt Exhibit Challenge quilts and I really hope YOUR project is there! There's still time to join in - grab a kit HERE or stop in the shop and we'll help you get started.
Don't forget to turn in your finished projects to Modern Textiles or Blow's Sew-N-Vac by September 1st to be part of the Challenge display and to be eligible to win some of our amazing prizes (a sewing machine, $100 gift card to MT, or a $50 gift card to Blow's!!)
TO DO:
-
Get your kit for the challenge and get sewing!
 SaveSaveSave