

Restyled - Flower Garden Christmas Wreath
Do you love the idea of pulling beautiful handmade holiday decorations from your (perfectly organized, of course) storage boxes? Remembering all the beautiful times you've had surrounded by said beauties. BUT is your reality pulling out a mess of wrinkled stuff that you made a decade ago that you are just not that pumped to see again? Well, I've got a solution for you! I restyled our Flower Garden Mini pattern again into a simple, but classic design of a holiday wreath wall hanging, sure to freshen up any Christmas decor.

This is the fourth time I've made this pattern, and trust me there are forty more ways I want to do it! It super easy, extremely versatile and leaves a ton of room for you to personalize your project.

For the Christmas Wreath version I cut my off white background to 22" square. I applied my Heat 'n Bond to three different shades of green and cut leaves and stems in varying sizes from each. I did the same with red fabric and cut the small flowers from that. Then I just played with the layout! Try not to overthink it too much. I find it helpful to layout my pieces then step away for a bit and come back with a fresh eye to see if I like it. Taking photos is also really helpful and can be a great way to see if your colors are equally interspersed. Once you've committed to a layout, just press in place to activate the adhesive on the back of the Heat 'n Bond. Then the fun begins! It's time to quilt your wall hanging.
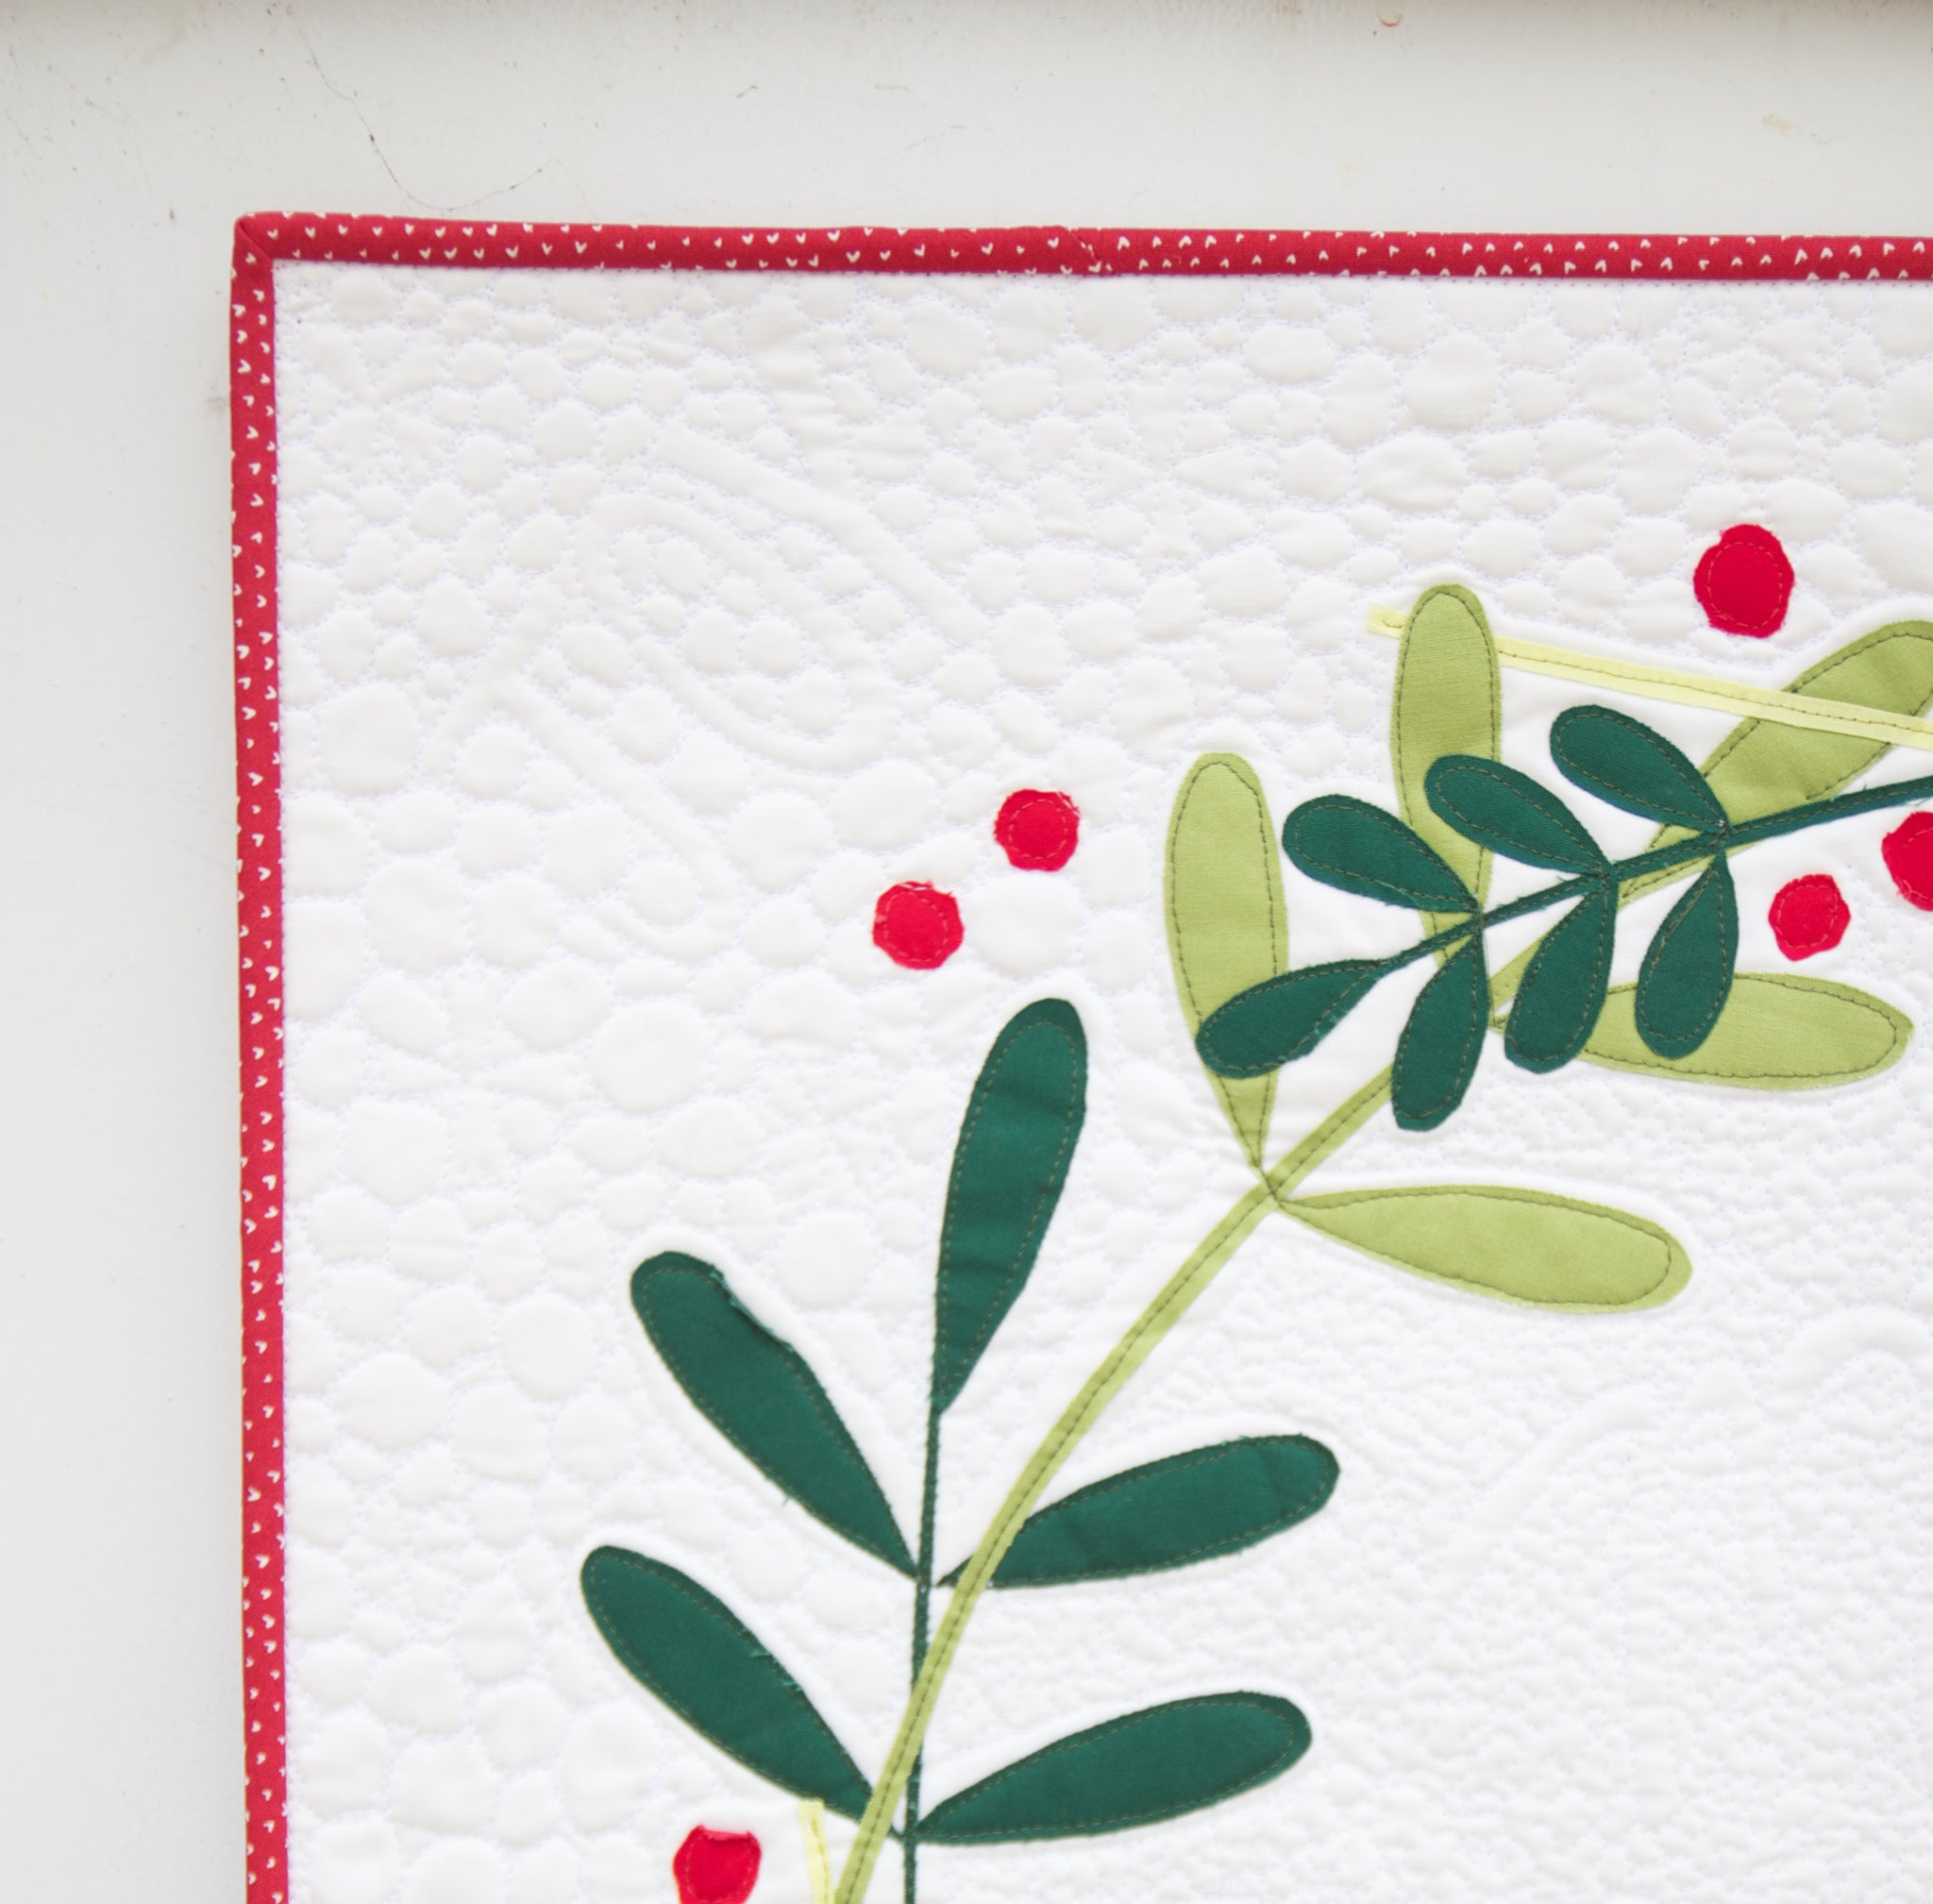
We've talked about this before , but I love these types of small projects because I can experiment and try new things with my quilting without any pressure. Go nuts! For this quilt I tried my hand at quilted lettering and pebbling. It had it's challenges, as these things always do, and I learned a lot. Regardless, I really love the crisp classic look of this quilt and can't wait to decorate with it at home.

Are you ready to experiment? This is the perfect project to try your hand at new quilting techniques. Need a little guidance and encouragement? Clem has a few spots left in some upcoming classes - Machine Quilting & How Should I Quilt This. Grab a spot and get ready to learn a ton.
(Are you completely uninterested in quilting? No problem! Heat 'n Bond the pieces on, finish the edges and hang it up! No quilting necessary. Our pattern walks you through the details of both methods.)

We've put together a kit to make a Christmas Wreath just like the one pictured, including the Flower Garden Mini pattern. Grab it in the shop or online. Or stop in to pick the perfect fabric combination to go with your holiday color scheme.
Happy Quilting!
Connie

UPDATED 7/18/19: Second rendition of the Christmas Wreath Re-Style
I just wrapped up the Christmas Wreath Mini Quilt. This makes for the perfect swap out of the Around the Kitchen wall hanging for the holidays!

Sew you wanna know how much time it's going to take?
4-5 hours total from cutting all the way through binding, depending on the amount of quilting you plan on doing

All of the shown fabrics are in the Christmas Wreath Mini Quilt Kit, the link is below.
Approximate Finished Size: 26" x 26"

What's wonderful is you have the option of making this out to be a super full wreath or minimalist style. I used about half of all the fabric that come with the kit.
Tips to avoid the dreaded seam ripper:
-Make sure before ironing everything down to take a picture of your layout, and review it - also, incase you drop some of the appliqué pieces ;)
-When ironing on the appliqué pieces it's best to do this one layer at a time.
Grab the Christmas Wreath Mini Quilt Kit HERE!
Grab the Flower Garden Mini Pattern HERE!
I'm still working on my free-hand quilting on my machine, so I kept this quilting minimal. At first I intended to do a cross-hatch design, but after doing the vertical I was pleased with the rustic look it gave the wall hanging. Sometimes you have to go with the flow and know when something looks better with less.
Enjoy and have a great weekend!
Katie